Part of the fun of keeping tarantulas, in my opinion, is the endless search for the perfect “found enclosure.” Sure, there are many gorgeous and professionally-designed cages to choose from, and they make lovely displays for any showcase Ts that you are particularly fond of. However, those with large collections can find housing all of their beloved spiders in these top-of-the-line terrariums much too expensive. That’s why many enthusiasts haunt their local WalMarts, Targets, craft stores, and Family Dollar’s looking for various canisters and containers that can be used “off label” as make-shift tarantula cages.
Sterilite has produced dozens of types of plastic storage containers over the years, and their products have long been used by budget-conscious T enthusiasts hoping to keep costs down as their collections expand. They offer containers in a ridiculous number of sizes, making them ideal for any larger T. And with prices often as low as $1.99 for smaller sizes, they won’t hurt the wallet as much.
I recently discovered their series of lockable and stackable storage containers, and was delighted to learn that they come in a number of convenient sizes. Instead of just drilling holes this time, which definitely works but is tedious and, in my opinion, not as attractive, I decided to use vents. The following is a little step-by-step tutorial for those interested.
NOTE: I know that some folks will argue that drilling holes is a bit cheaper (the vents I’m using her will run you an extra $1.90 or so per cage) or more attractive. Still, I like the look of these, and I find the vents less tedious to install. I also have plenty of enclosures with drilled or melted air holes, so I have NO problem with these.
MATERIALS
- Aquarium safe silicone and sealant (or hot glue) ($5.99)
- 2″ hole saw ($8.88)
- Drill
- Sterilite stackable containers (6 for $26.22)
- Utility knife
- Clamp (or a willing relative with strong hands)
- Paper towels
- 2″ round vents ($0.86 each)
1. Buy the Sterilite Containers.

Here are several sizes of storage boxes (as well as a plastic canister that I will modify later). These are wonderful, as they stack quite nicely, saving space. I purchased these at WalMart, but they can also be found in Target (although their selection hasn’t been as good).
2. Get Some Aquarium-safe silicone.

Next, you will need aquarium silicone, which dries non-toxic. For those with hot glue guns, those will work as well. I allow three days for a full cure.
3. Get 2″ round plastic vents.

Vents of this type can be found through several online vendors. I purchased these at roundvents.com. I like the plastic ones, as I worry that a large T could chew through the wire ones.
4. Grab a 2″ Black & Decker (cheap!) hole saw.
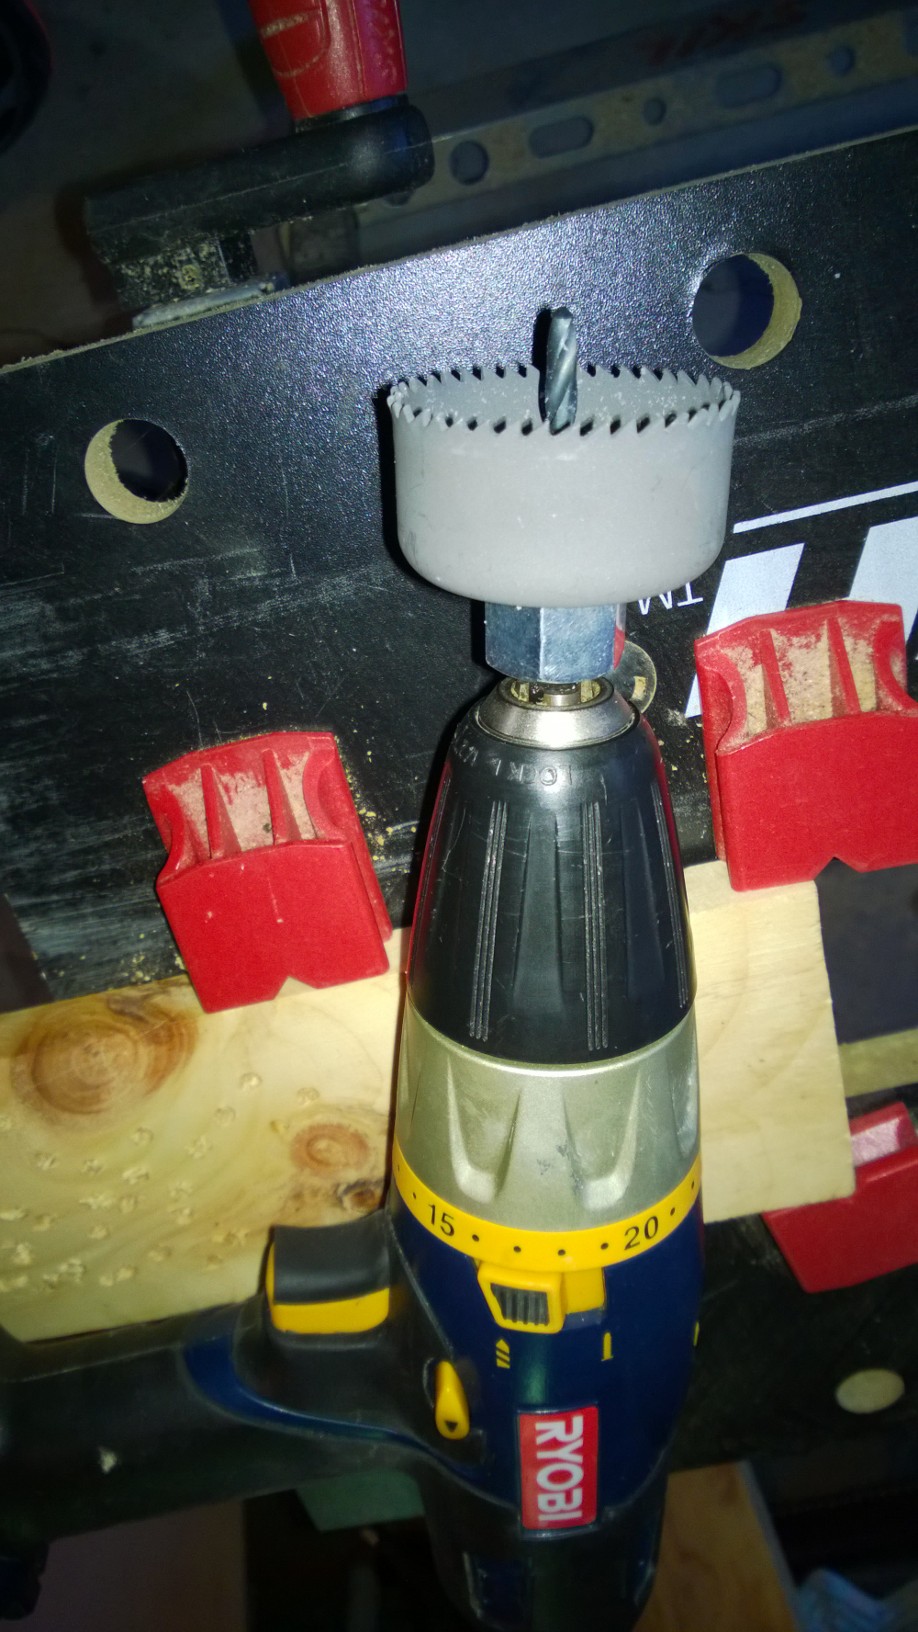
To drill the holes, you will need a 2″ hole saw. If you don’t have one, Black & Decker makes a cheap set that includes the 2″ saw for under $10. I found this one at my local WalMart.
5. Clamp the container down before drilling.

Again, you can probably have someone hold the container while you drill, but I have the clamps handy, so I use them. Notice the piece of wood underneath, which gives you something to drill in. You can also use the circle created by earlier drillings to line up the hole.
6. Carefully drill your holes.

Mark the entry point for the guide bit with a Sharpie to keep the hole centered. When drilling, don’t push too hard and allow the drill to do its work. Be careful that the bit doesn’t heat up too much, as if it does, it can melt the plastic. Use a piece of wood underneath to drill into and for support.
7. After drilling the holes, clean edges with a utility knife.
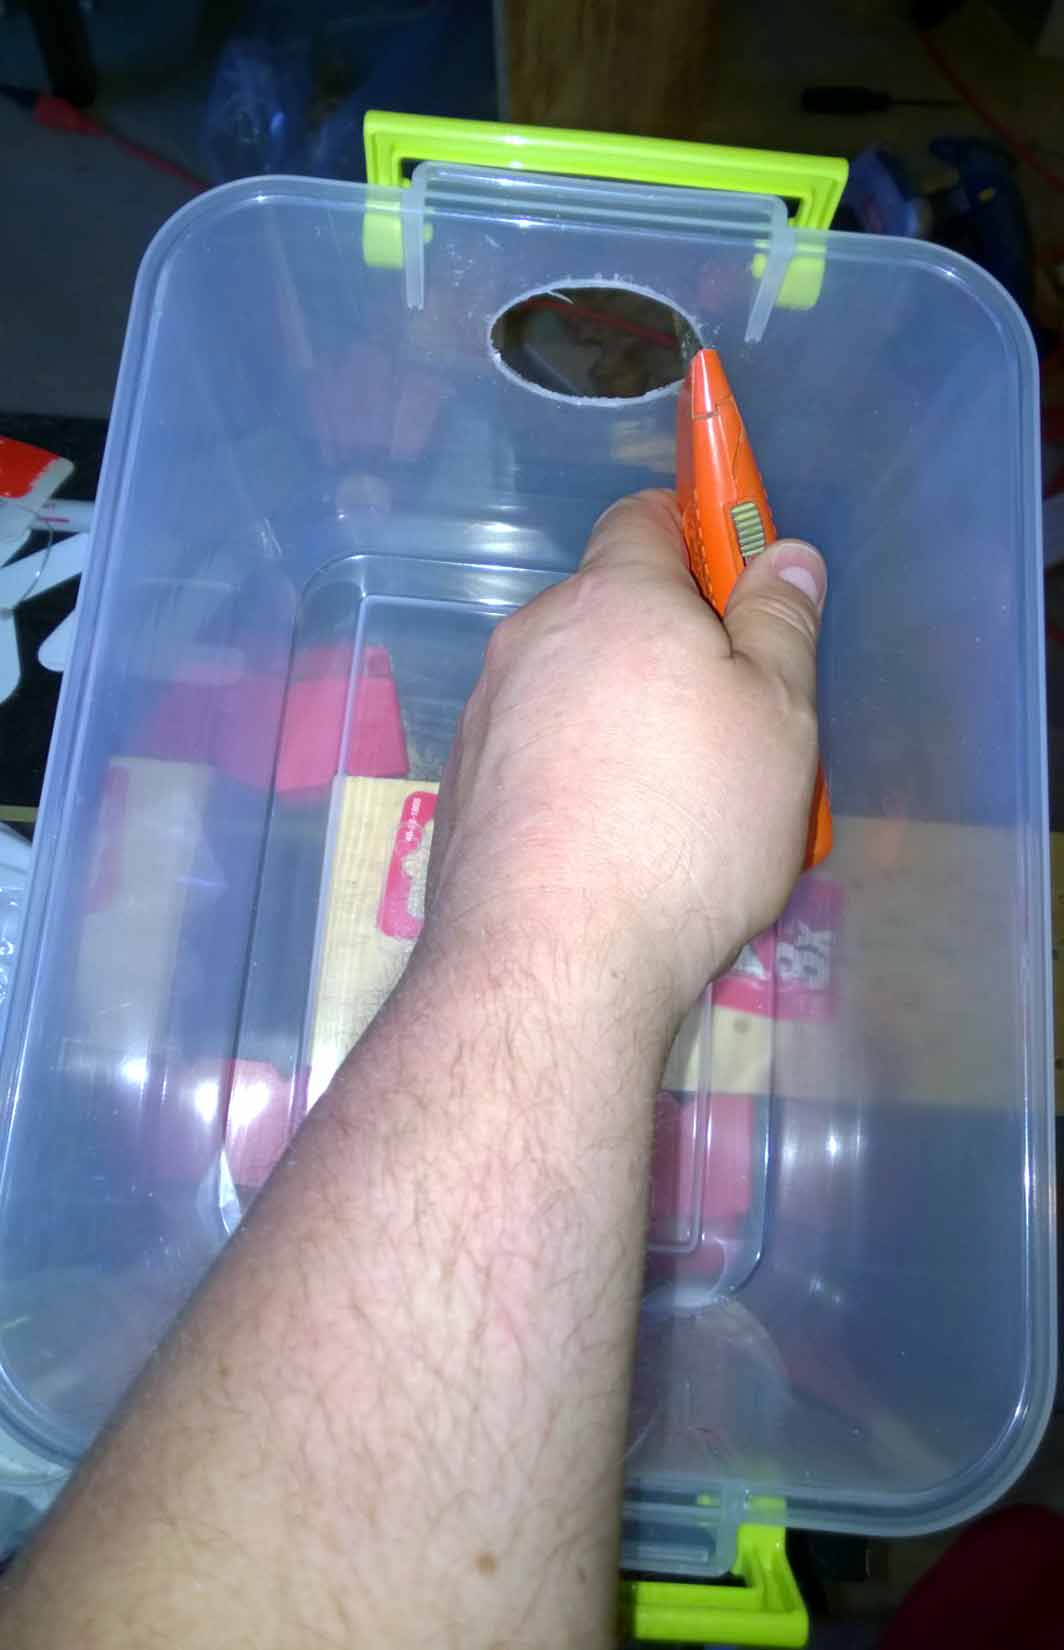
Unfortunately, the drilling process can leave behind some gnarly and an sharp pieces of plastic around the edges. Use a utility knife to carefully trim away these scraps and make for a clean fit.
8. Put a thin bead of silicone (or hot glue) around the rim of the vent.
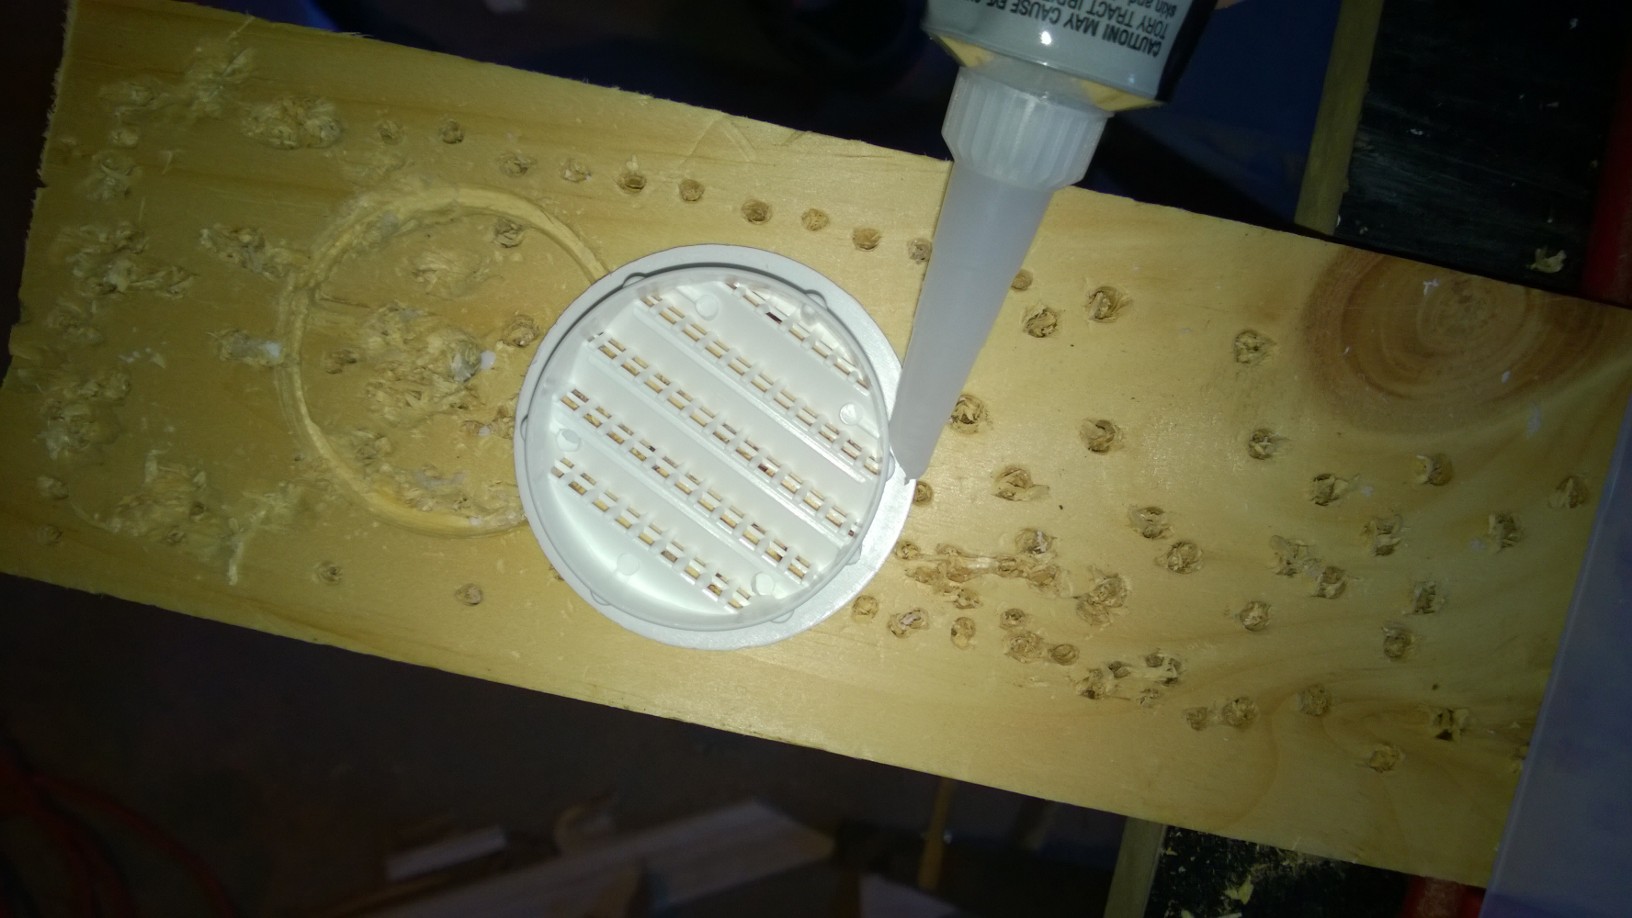
Run a nice, thin bead of aquarium safe silicone around the lip of the the vent. Although the vents sport tabs that help “lock” them in place, the silicone seals it up and makes it permanent. Hot glue can also be used, meaning the enclosure could be used sooner as you won’t have to wait for the silicone to cure.
8. Line up the vent and carefully pop it in.
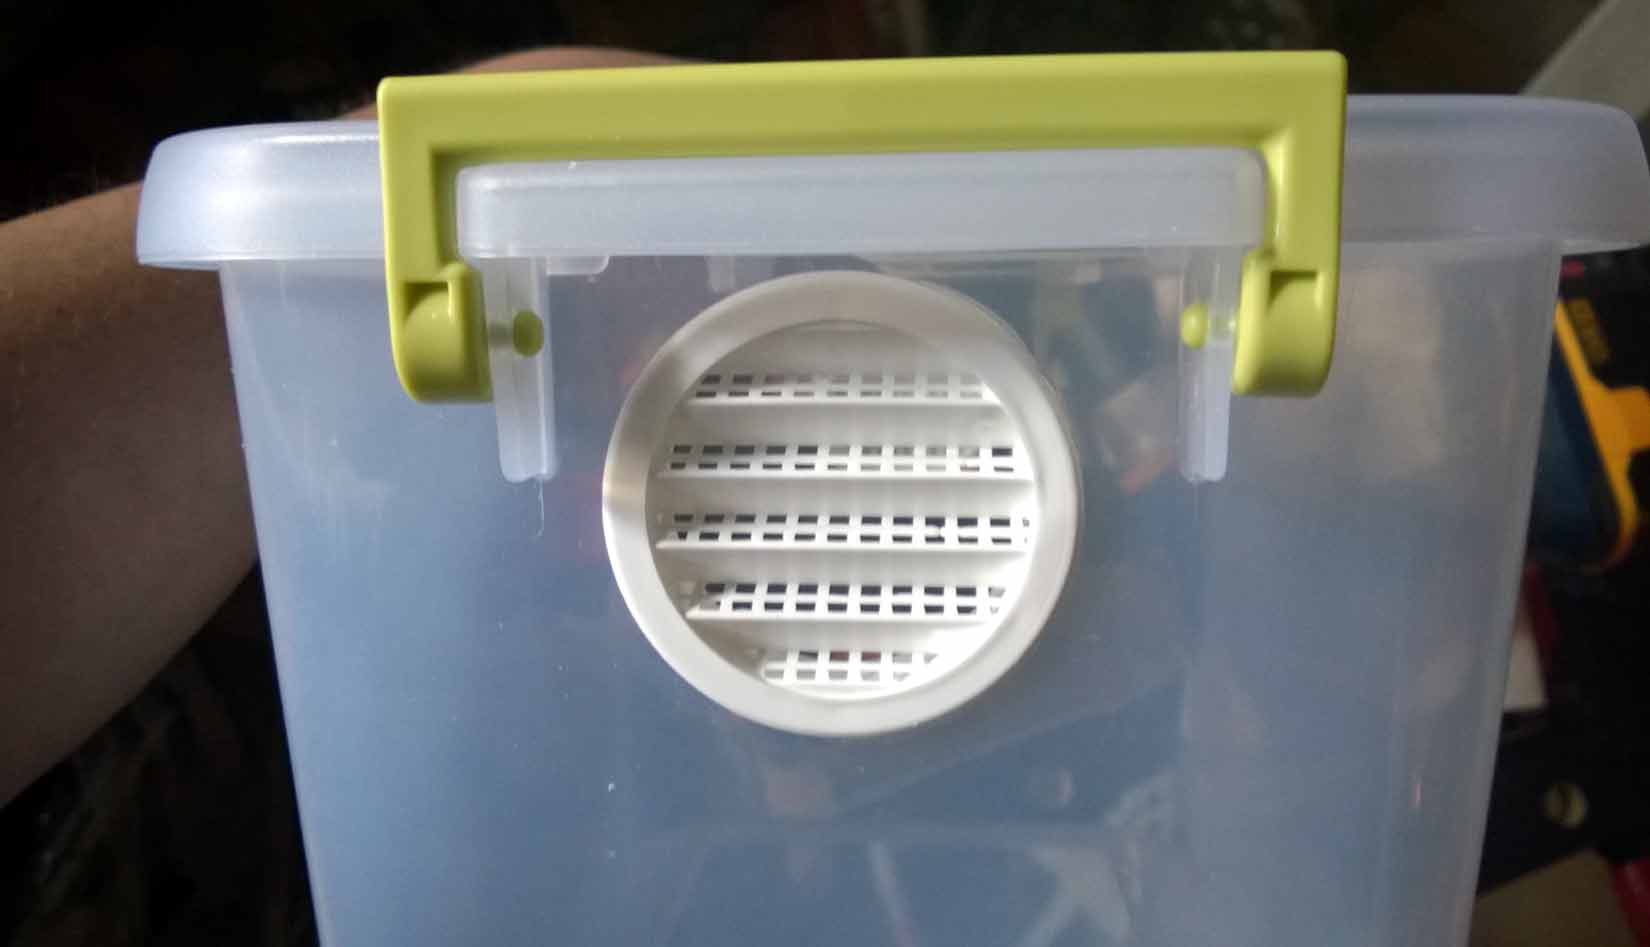
Now, line up the vent and carefully pop it in. I like to do one side facing up and one side facing down. Use a moist paper towel to clean up any excess silicone. I put a vent in two opposite sides of the the container to allow for cross ventilation.
9. Newly vented cages stacked in a cluttered garage.

Several of the newly-vented enclosures. The large one on the bottom will be fitted with 4″ vents.
10. Modified cages in use.

A couple of my earlier enclosures, already occupied. The top enclosure does NOT have vents. For that one, I used a nail heated on a burner to melt the holes into it.
A small note about ventilation: I find that the 2″ vents work very well with this size enclosure. However, after noticing some condensation collecting on the lid of one of my cages after moistening the substrate, I added a row of holes in the lid above the sphagnum moss to allow for a bit more airflow. The moss stays moist, but I no longer get the condensation. Still, I’ve only done this to one enclosure that housed a T that required more moisture.

thank u tom i forgot about this tutorial u had on enclosusers, that answers my qestion on housing my rescue avic, have a great day
LikeLike
You’re most welcome, Jodi! That reminds me…I have to revisit and update this! 🙂
LikeLike
What do you do about the strong new plastic smell? Thanks!
LikeLike