Gorgeous enclosures that wont break the bank
With several of my tarantulas reaching adult sizes, I found it was time to do some enclosure shopping. As I stated in an earlier blog, I use a variety of enclosures, including DIY and premium, professionally-made varieties. Premium enclosures can be costly, and when you have 50 or so Ts, you could end up spending more on the homes than you do on the animals. That said, I do have tarantulas that I consider worthy “showcase animals” that I like to show off to visitors. For these specimens, I don’t mind splurging for classier enclosures.
I had discovered Reptile-Enclosure.com last year while looking for large acrylic enclosures for my Ts. When I was first pricing cages on the site, I discovered the majority of the sizes were no longer in stock, and I wrongly assumed the company was no longer in business. In actuality, Reptile Enclosure.com is owned and run by Lorex Plastics Co, a plastics company that makes reptile and tarantula cages during the slow seasons. For those interested in these enclosures, this is something to keep in mind.
As luck would have it, I stumbled on Lorex’s eBay listing for two of their enclosures, and decided to check out the site again. I was ecstatic to discover that almost all of the sizes and types were in stock, and they were definitely still in business.
Lorex offers several types of enclosures, including arboreal and terrestrial varieties, as well as front-loading and hinged topped designs. For tarantulas, I specifically looked at the 3 mm Series, which includes convenient 2 gallon, 5 gallon, 7 gallon, and 12 gallon sizes.
I ordered three of the 5 gallon enclosures, which measure 17″ x 9″ h x 8″w and retail for $47.50 before shipping. Also, Lorex offers a 15% discount if you buy three or more cages of the same size, so I was afforded those savings as well. I phoned to ask a couple questions about my order, and spoke to Ed. Communication was excellent, and Ed was very friendly and helpful via phone and email.
My order was shipped promptly, and as Lorex is located just on the other side of my state, they arrived via UPS in a day. I always worry when I order acrylic cages, as I know how unforgiving the shipping process can be. However, my new enclosures were packed so well, nothing was going to harm them in transit. Each of the three cages was wrapped in five or six layers of bubble wrap, then individually boxed. These three boxes were then packed into another larger box for added protection. Wow.
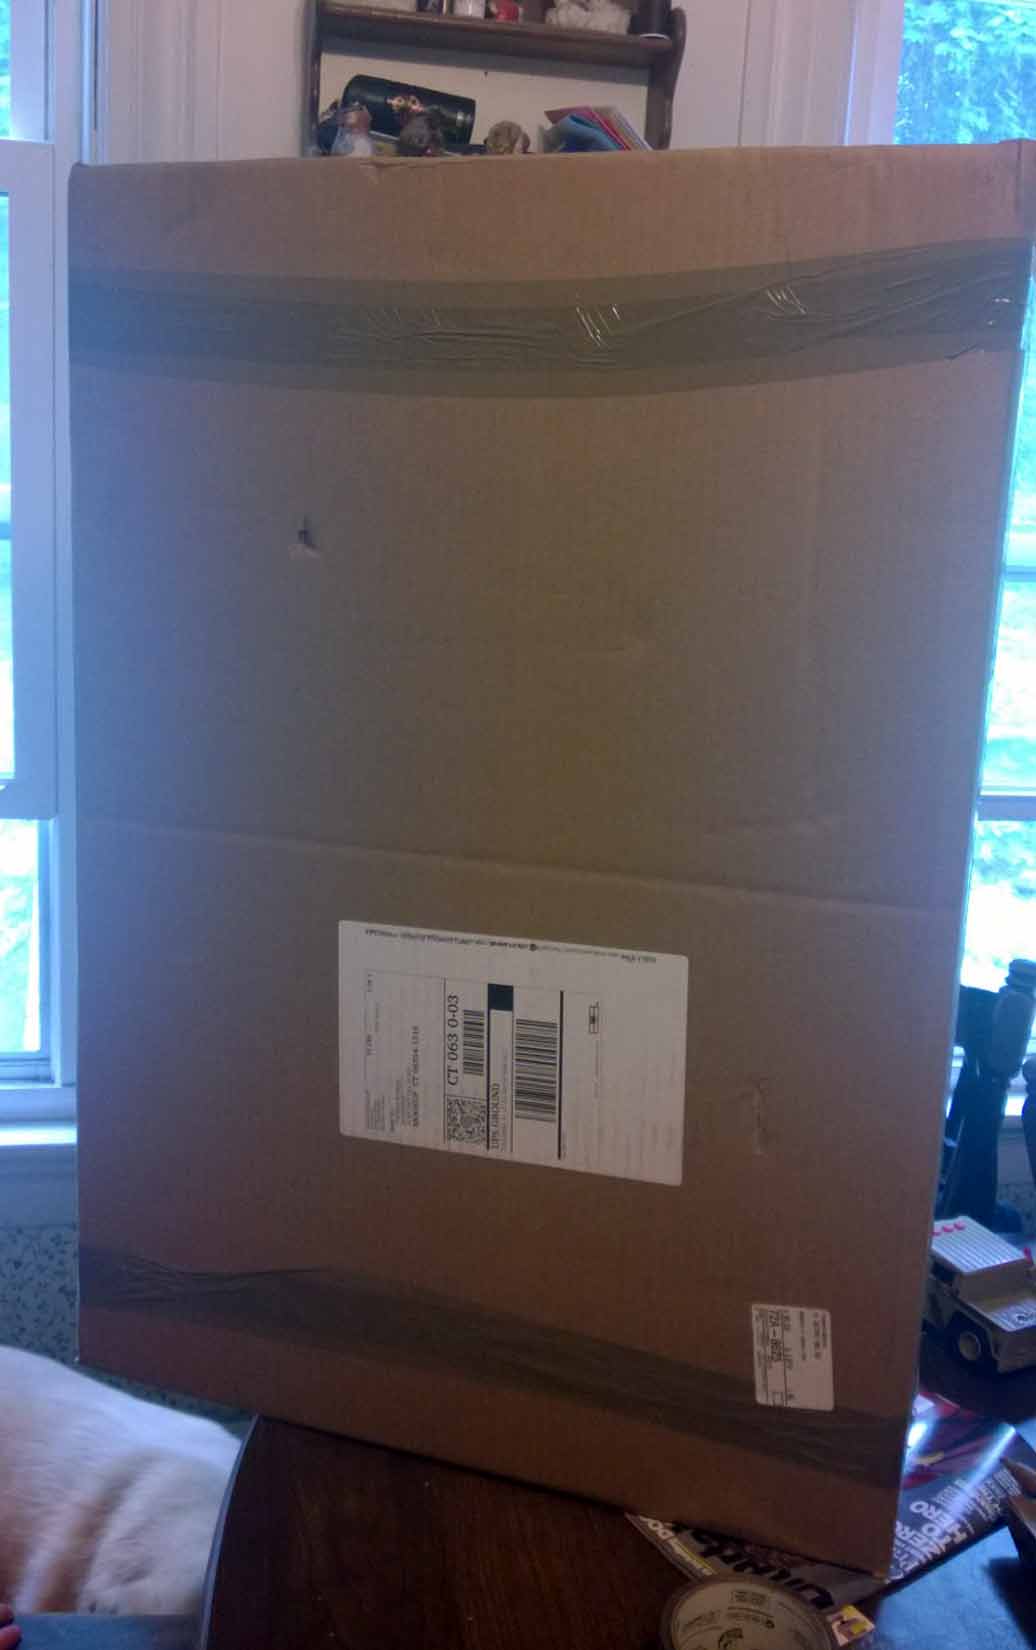
One BIG box filled with three of Lorex’s 5 gallon enclosures
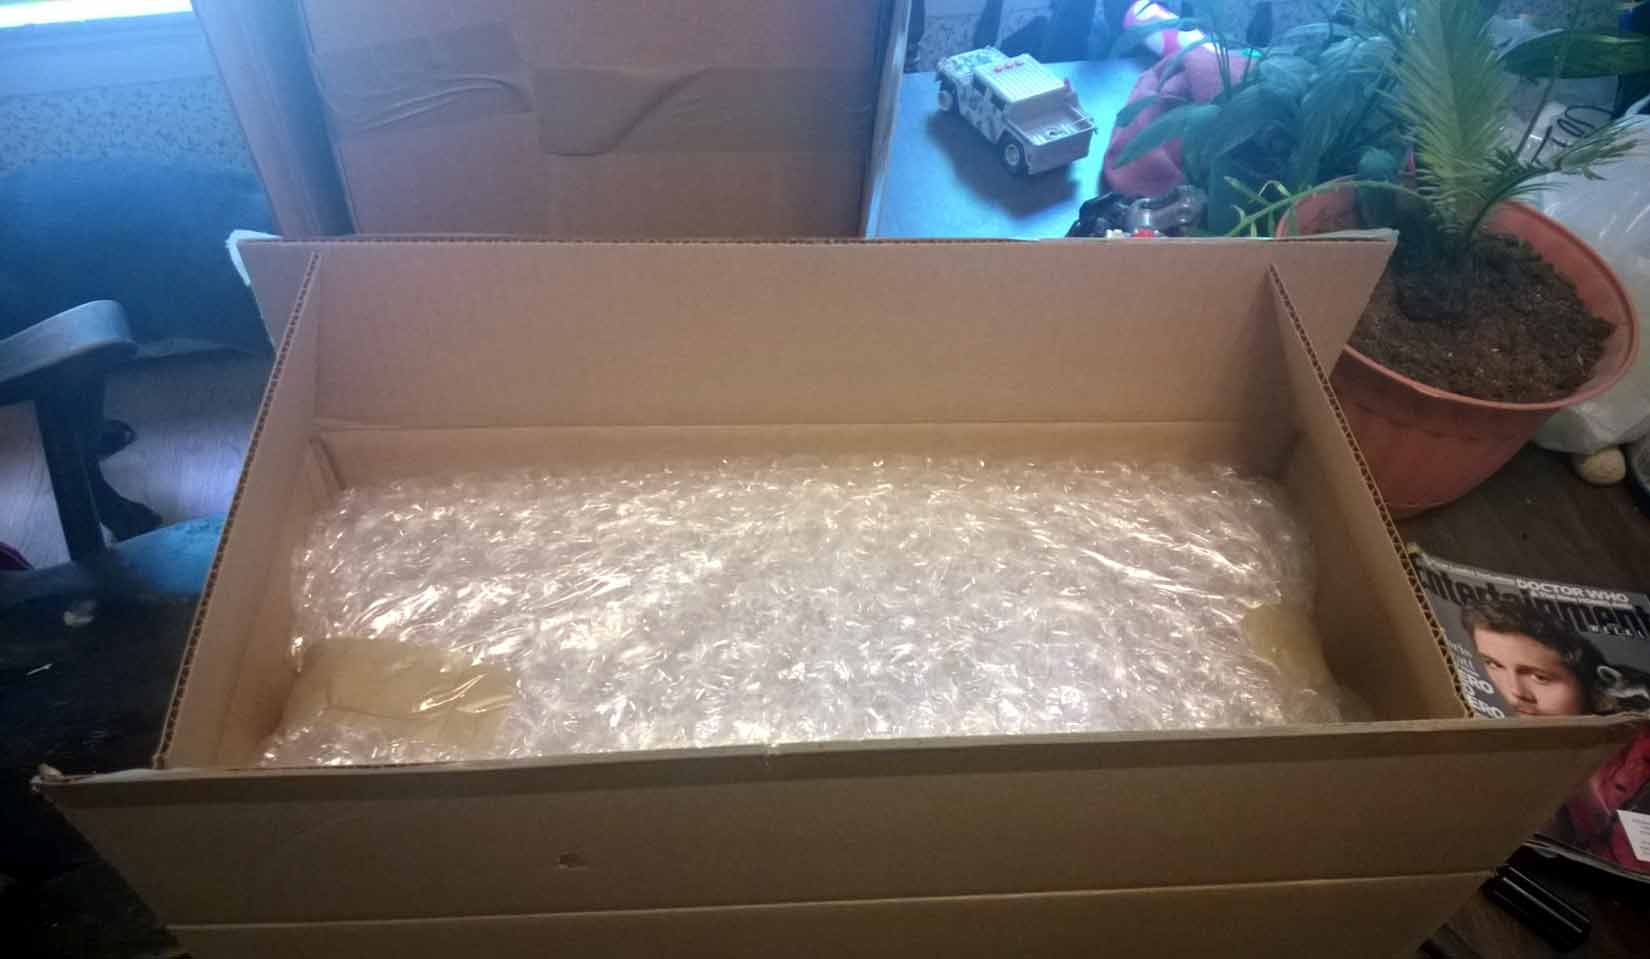
Each enclosure came wrapped in bubble wrap and in its own box.

I was very pleased to discover that each enclosure was wrapped in 5-6 layers of bubble wrap.
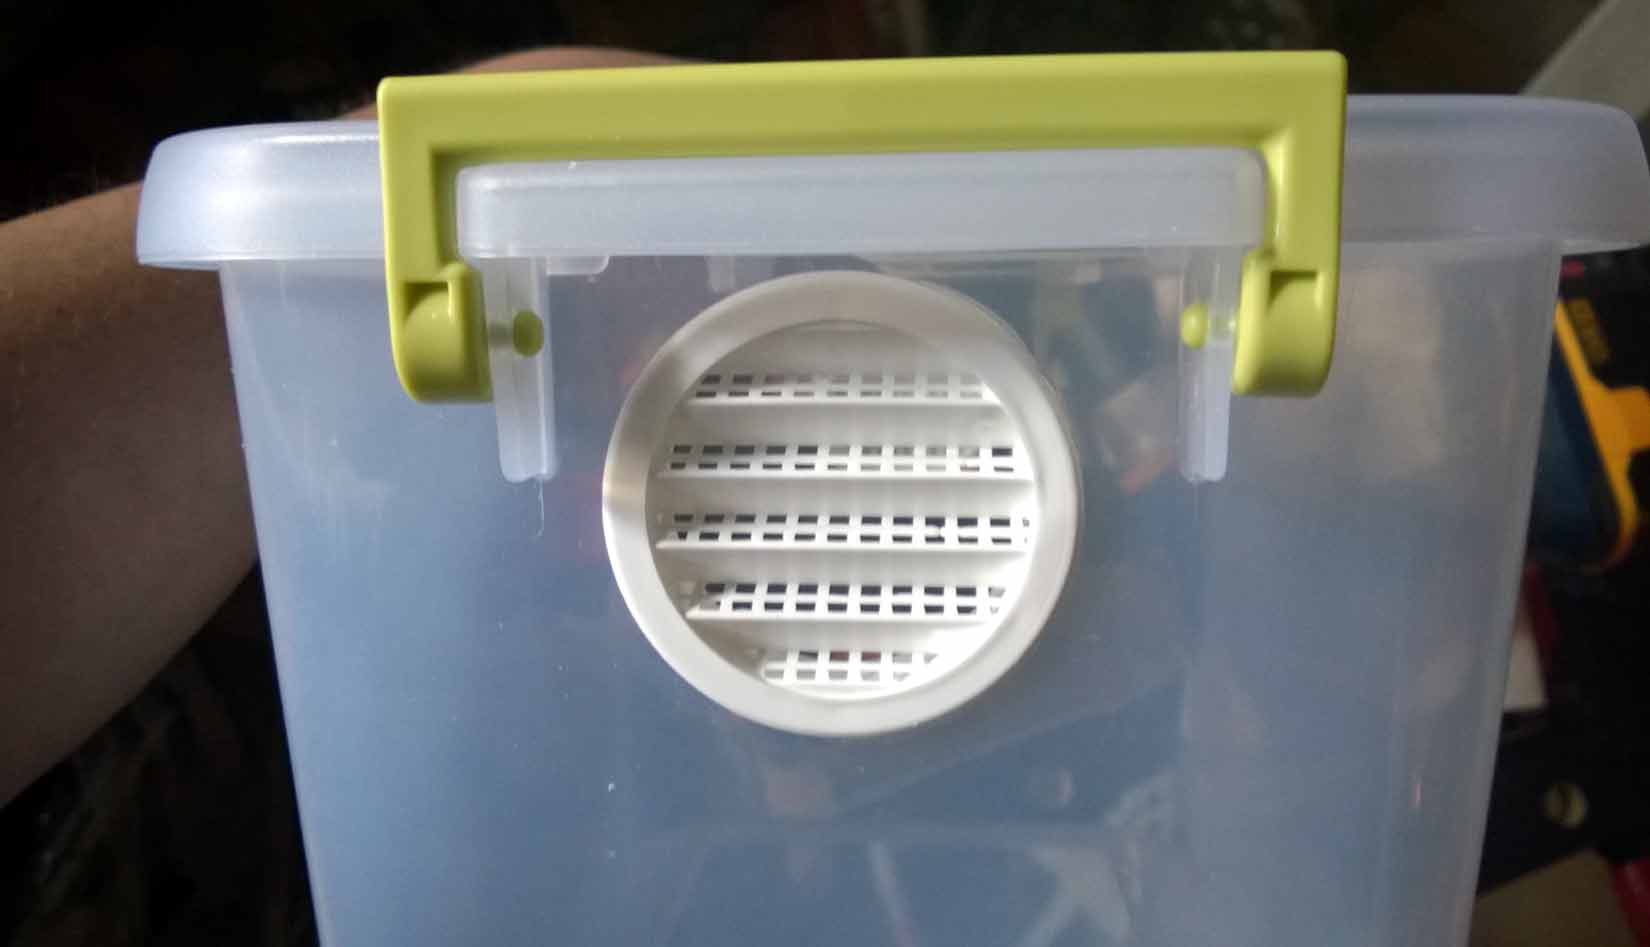
The cages themselves are well-constructed and just gorgeous. Each top-hinged door has a lip that overhangs the front and locks with a hasp. As these can be used for reptiles as well, they’ve been designed to have a 1/2″ of clearance beneath the bottom to allow for an under the tank heat mat (note: do not use heat mats for Ts). I love the look of the aluminum vents, although I’ll have to keep an eye on them as some terrestrial Ts have been known to chew through wire.
My only nit-picky issue is that the vents are not glued or otherwise permanently affixed to the cage, but this is a very small issue. I do love the position of the vents, as they allow for a deeper level of substrate than some of my other cages afford. The enclosures also feel very solid and sturdy, which is great.

5 gallon Lorex Acrylic Enclosure. Notice the lip and locking hasp.
I definitely recommend Lorex acrylic enclosures for anyone looking for a premium cage to display one or more of their prized tarantulas. They come in a number of convenient sizes, they are wonderfully constructed, and even with shipping, the prices are lower than other comparable acrylic enclosures sold elsewhere. Customer service was top notch, and Ed at Lorex was a pleasure to deal with. I’m already eyeing a couple of the 12-gallon versions for when my L. parahybana and P. antinous get a bit larger.
To check out these wonderful enclosures, click here!

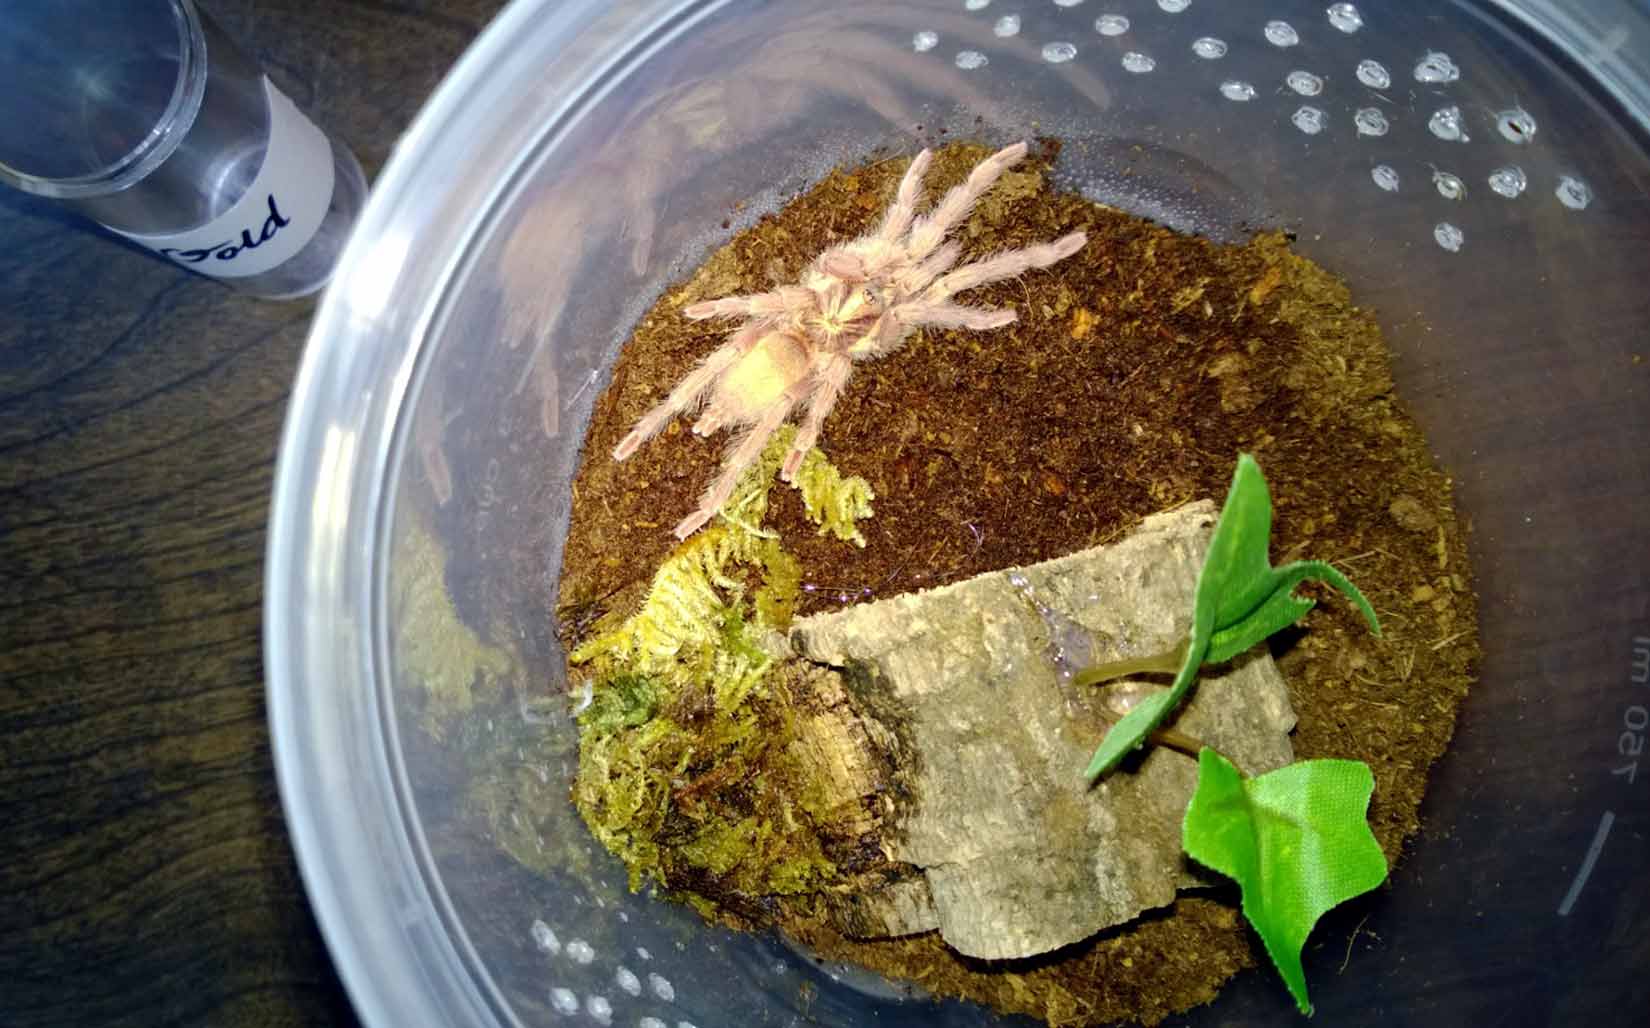
My enclosure decorated and now the new home of my L. itabunae.